简版 Axios
目标说明
实现 axios 的函数式调用、对象式调用、拦截器的实现等
目标1:实现基本请求、及多种调用方法
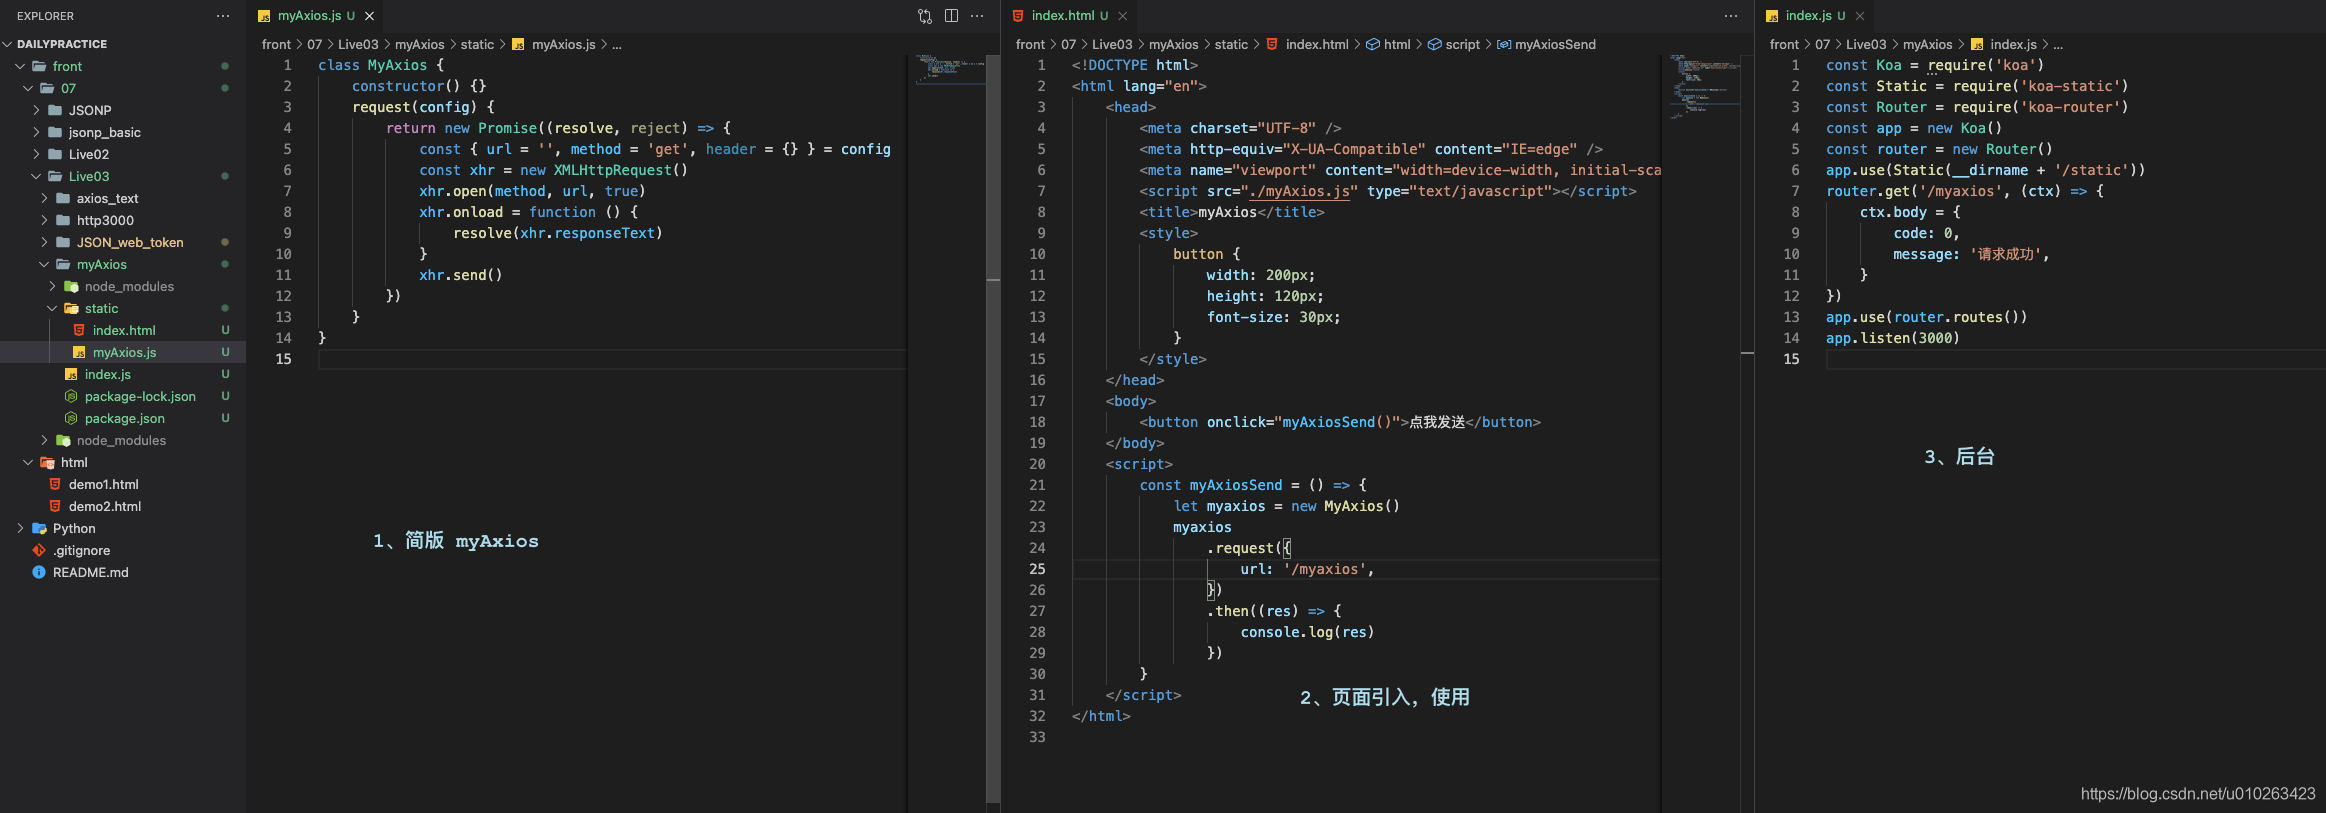
这里简单搭了个前后端的环境,以及个人的 axios 源码,如下图所示

基础:把 axios 封装成类
首先写个类,把 xhr 封装一下
1
2
3
4
5
6
7
8
9
10
11
12
13
14
| class MyAxios {
constructor() {}
request(config) {
return new Promise((resolve, reject) => {
const { url = '', method = 'get', header = {} } = config
const xhr = new XMLHttpRequest()
xhr.open(method, url, true)
xhr.onload = function () {
resolve(xhr.responseText)
}
xhr.send()
})
}
}
|
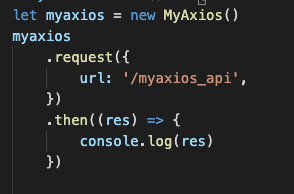
前端调用的话就是这样

添加更多请求方法
我们已经在类中写了 request 的方法,那么其他的方法可以直接拿来用即可
我们通过一个数组,去保存方法名称,然后循环,在原型链上添加方法,以备实例化对象使用。
1
2
3
4
5
6
7
8
9
10
11
12
13
| const methodsArray = ['post', 'get', 'delete', 'put', 'head']
methodsArray.forEach(method => {
MyAxios.prototype[method] = function (url) {
const config = {
url: url,
method: method
}
console.log(this);
return this.request(config)
}
})
|

无需实例化,拿来就用
前端调用 axios 还有一种形式,就是拿来直接使用,比方说这样
1
2
3
| myaxios.delete('/myaxios_api').then((res) => {
console.log(res);
});
|
那么实例化对象的工作就在 myaxios.js 里解决即可

实例化对象的函数式调用
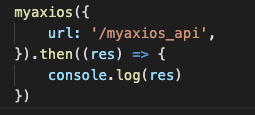
如果前端想这样调用

那么可以再包装一层,这里用 createInstance 创建一个实例,并把请求的函数直接暴露出去,然后赋值给 myaxios。


对象式调用
经过以上的处理,我们只是暴露出函数出去了,那么如何添加对象式的调用呢?从而实现函数式 + 对象式的调用。
目标就是实现下面形式的调用
1
2
3
| myaxios.get('/myaxios_api').then((res) => {
console.log(res);
});
|
那么就需要在暴露出的方法,把类上的原型链上的方法,混淆到暴露出得函数中
首先打印一下这个实例

发现它只是个方法,上面还是空空如也

接下来写个工具对象,用来挂载方法
1
2
3
4
5
6
7
8
9
10
11
| const utils = {
extends(origin, newBoy, context) {
for (const key in origin) {
newBoy[key] = origin[key]
}
}
}
|
过滤原型链
这里会有几个问题,我们只需要本身上的方法,而for in 会寻找到它的原型链上的东西,所以我们需要过滤一下
为什么需要过滤呢,不妨做个实验,我们先在 Object 的原型链上添加一个方法。
1
2
3
4
5
6
7
8
9
10
11
12
13
14
| Object.prototype.myFun = function () {
console.log('i m handsome');
}
const utils = {
extends(origin, newBoy, context) {
for (const key in origin) {
newBoy[key] = origin[key]
}
}
}
|
我在 Object 原型链上写了myFun函数,但是我们并不需要这个,然而不过滤的话他也会复制进去


myFun 这个方法是我们不需要复制的,所以需要通过 hasOwnProperty() 判断一下,判断完在复制:


绑定指针
这里还会有个问题,写好后调用会报个错误,如下:


有点啰嗦,不过大概是这样的:

至此,可以试验一下两种调用方法


基础的 axios 就完事儿了。
目标2:添加过滤器
现在要在每个实例化对象上添加过滤器
了解原先的过滤器使用方法
正常的 axios 的过滤器是这样使用的:
1
2
3
4
5
6
7
8
9
10
11
12
13
14
15
16
17
18
|
axios.interceptors.request.use(
(config) => {
return config
},
(error) => {
console.log(error)
},
)
axios.interceptors.response.use(
(res) => {
return res
},
(error) => {
console.log(error)
},
)
|
多个拦截器的执行顺序
为什么要关心顺序呢,因为拦截器可以有多个,你得知道原来的是按照什么顺序调用的。

我们就要实现这样子调用即可
自己实现:思路梳理
- 在每个实例化对象上添加 拦截器管理,放到
constructor 里
- 拦截器的执行顺序可以通过队列来维护:
[请求拦截器 ,发送请求 axios , 响应拦截器],
开始实现
首先写一个类,用于保存拦截器的任务
1
2
3
4
5
6
7
8
9
10
|
class InterceptorsManager {
constructor() {
this.handlers = []
}
use(fulfilled, rejected) {
this.handlers.push({ fulfilled, rejected })
}
}
|
然后再 Axios 的类上添加这个管理器

再次捋一下思路

这边将实例化对象上的构造器混淆到方法上

任务队列
然后就要写队列了:这里有几点注意的
- 创建
Promise.resolve(config) 的时候要把 config 传过去,这样拦截器里才能拿到config
- 函数还要把这个
promise 返回


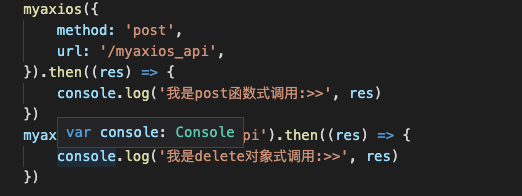
这里写完之后,如果这样调用的话
1
2
3
4
5
6
| myaxios({
method: 'post',
url: '/myaxios_api',
}).then((res) => {
console.log('我是post函数式调用:>>', res)
})
|
会报个错误,错误信息如下:
1
| myAxios.js:19 Uncaught TypeError: Cannot read property 'xhr' of undefined
|
这也是 this 指向的问题,绑定方法如下:

源码
gitee 的仓库地址:https://gitee.com/lovely_ruby/DailyPractice/tree/main/front/07/Live03/axios_08_01
1
2
3
4
5
6
7
8
9
10
11
12
13
14
15
16
17
18
19
20
21
22
23
24
25
26
27
28
29
30
31
32
33
34
35
36
37
38
39
40
41
42
43
44
45
46
47
48
49
50
51
52
53
54
55
56
57
58
59
60
61
62
63
64
65
66
67
68
69
70
71
72
73
74
75
76
77
78
79
80
81
82
83
84
85
86
87
88
89
90
91
|
class IntercetporsManager {
constructor() {
this.handlers = []
}
use(fulfilled, rejected) {
this.handlers.push({ fulfilled, rejected })
}
}
class MyAxios {
constructor() {
this.interceptors = {
request: new IntercetporsManager(),
response: new IntercetporsManager(),
}
}
request(config) {
const missionQuery = [this.xhr, undefined]
this.interceptors.request.handlers.forEach((interceptor) => {
missionQuery.unshift(interceptor.fulfilled, interceptor.rejected)
})
this.interceptors.response.handlers.forEach((interceptor) => {
missionQuery.push(interceptor.fulfilled, interceptor.rejected)
})
let promise = Promise.resolve(config)
while (missionQuery.length > 0) {
promise = promise.then(missionQuery.shift(), missionQuery.shift())
}
return promise
}
xhr(config) {
return new Promise((resolve, reject) => {
const xhr = new XMLHttpRequest()
const { url = '', method = 'get' } = config
xhr.open(method, url, true)
xhr.onload = function () {
resolve(xhr.responseText)
}
xhr.send()
})
}
}
const methodsArray = ['post', 'get', 'delete', 'put', 'head']
methodsArray.forEach((method) => {
MyAxios.prototype[method] = function (url) {
const config = {
url: url,
method: method,
}
return this.request(config)
}
})
const utils = {
extends(origin, newBoy, context) {
for (const key in origin) {
if (origin.hasOwnProperty(key)) {
if (typeof origin[key] === 'function') {
newBoy[key] = origin[key].bind(context)
} else {
newBoy[key] = origin[key]
}
}
}
},
}
function createInstance() {
const myaxios = new MyAxios()
const instance = myaxios.request.bind(myaxios)
utils.extends(MyAxios.prototype, instance, myaxios)
utils.extends(myaxios, instance)
return instance
}
let myaxios = createInstance()
|
其他知识点
查看源码的方式
如果想看源码的话,建议在 npm 中下载后,看 node_module 里的项目,比方说 axios 模块

官网上 cdn 的代码是通过 webpack 打包过了的,看得也费劲。
琐碎
- 实例化对象上才会有
constructor 上定义的东西。(比方说这个例子的拦截器)


